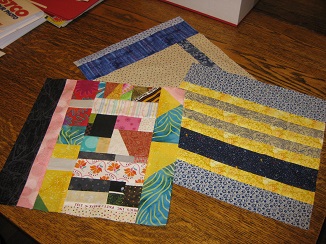
Accurate pressing is just as important as accurate seams in producing well pieced quilt blocks.


Punkin 
Irby
Angels, arent they.
Accurate pressing is just as important as accurate seams in producing well pieced quilt blocks.


Angels, arent they.
I work in a very small studio. 10 feet by 10 feet. Things are packed in pretty tight.
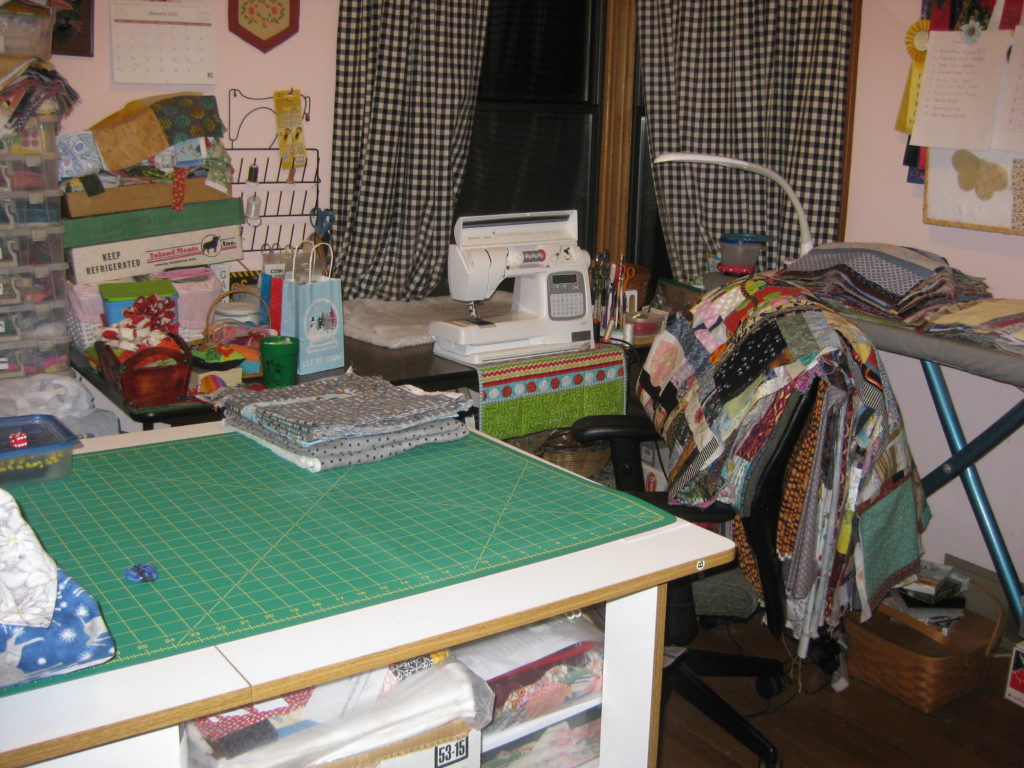
Projects are here and there, but they all have their space.

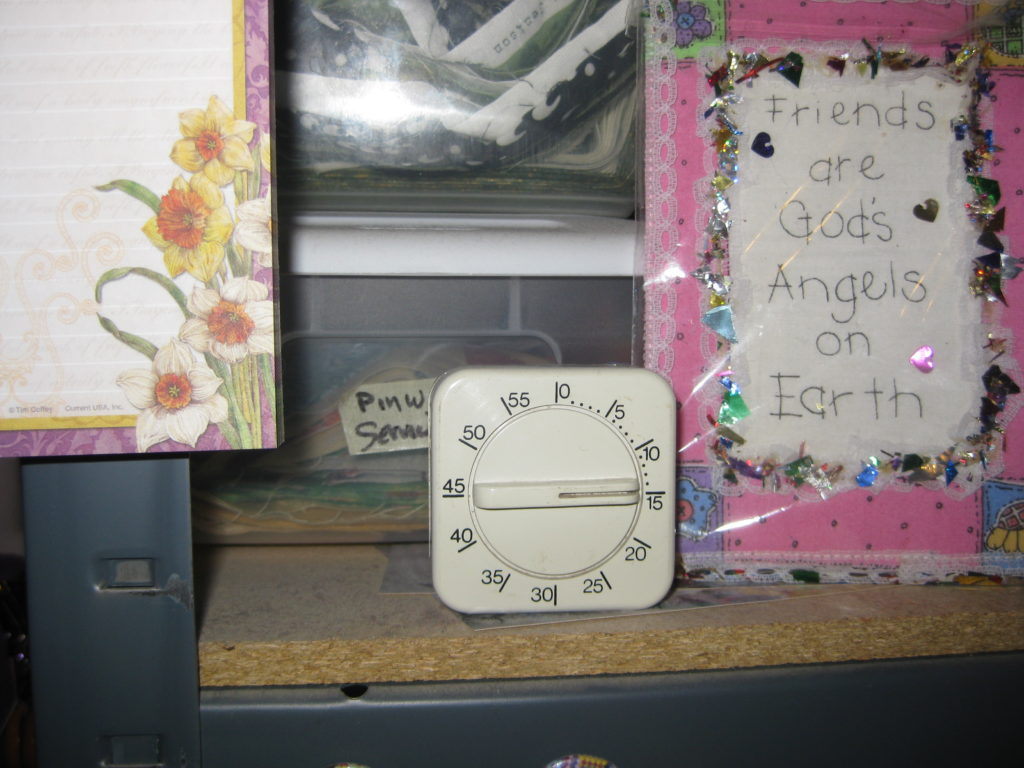
So how do I keep this small space so I can work in it? My first line of defense is doing a 15 minute pick up at the end of each day. I use a kitchen timer to keep me focused.
Most of the time I have several projects going at once and I like to keep things portable so I can take with me to work on. Wrap-n-Totes from my pattern #1501 work well to corral a messy project or to transport a hand sewing project.

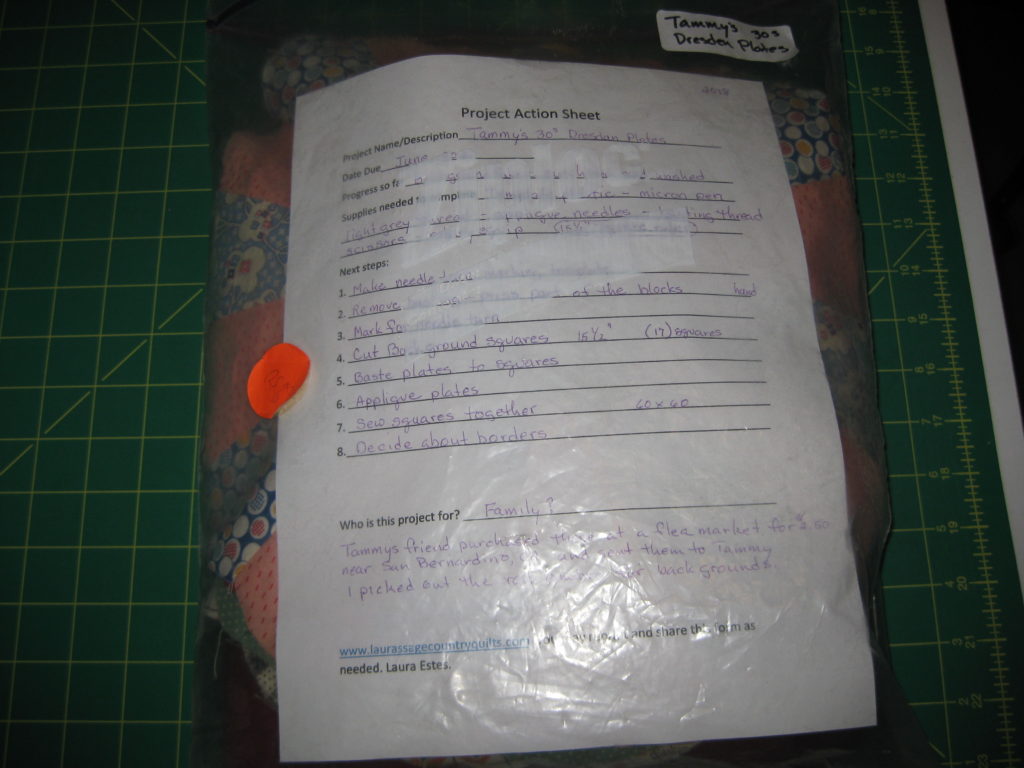
I have many projects in ArtBins and 2 Gallon Zip Closure Bags, labeled and including a Project Action Sheet where I have listed next steps, supplies needed and a proposed finish date.

Of course no work space is complete without a good paperweight. Punkin, our Manager of Operations, likes filling that duty.

I am offering an Organized Sewing Space Workshop at Experience Quilts!, Odessa, Washington, beginning Saturday, January 18th, 2020. 509-982-2012
Looking for a Guild or Shop Workshop, contact us at our info@laurassagecountryquilts link.
What organizing tips can you share with your fellow readers?

Try this fun color game.
It will help train your eye to see all the color variations, and the endless combinations you can use in a quilt.
Pick any photo that catches your eye.
Then, working with your stash or scrap bin, cut 2 inch squares from all the fabrics you find that match bits in your photo.
Look for dark, medium and light shades, tints, hues, tones and multi color fabrics.
Then arrange in gradations as shown in this photo, and glue in place. Now you have a tool to help you select fabrics for your next project.
Make more than one. Try a pastel photo, or a photo you don’t like, stretch your color palette a bit.
This is fun to do with groups at guild meetings and retreats.
Yes, I do workshops on the fun color game.

I have been enjoying the gift of this wood heart shaped tray since Valentine’s Day. To celebrate spring I have filled it with lavender and yellow Coin Ruched flowers.
Most are made with the TR700 Jumbo Coin Ruching Guide produced by Quilting Creations International, TR500 was used for the smaller ones.
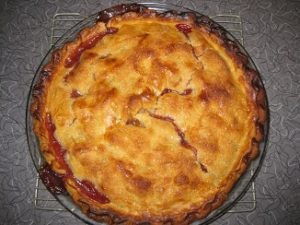
Sometimes I do something besides quilt. Here is the recipe.
Pastry for a 10 inch 2 crust pie
6 cups peeled, cored and slices golden delicious apples
2 cups fresh cranberries
1 cup granulated sugar
2 Tbsp all-purpose flour
2 tsp lemon juice
1 tsp ground cinnamon
Place apples, sugar, flour, lemon juice and cinnamon in a large kettle and stir to combine. Let stand 15 minutes. Place over medium heat and cook stirring occasionally until liquid begins to bubbly. Add cranberries, and cook about 30 seconds as skins pop. Pour into pastry lined 10 inch pie dish. Top with second crust. Bake in preheated 425 degree oven 15 minutes, then reduce heat to 350 degrees and bake 30 minutes more. Serve warm or cold. Yield: 8-10 slices.
Note: I like to brush the top crust generously with buttermilk and sprinkle liberally with granulated sugar.

Put a stop to the endless rearranging of hot pads and trivets on a buffet table with this Jumbo “Hot Spot” Table Mat. Cover the entire buffet with this “Hot Spot” and it is easy to adjust dishes and keep the buffet surface protected.
Simple to make with the following materials.
1 1/2 yards each 100% cotton top and back fabrics
1/4 yard 100% cotton binding fabric
1 1/2 yards Insul-brite
Thread to match fabrics

Prewash fabrics and press. Cut one piece from each fabric the width of the Insul-brite (about 23 inches). You may adjust the size to fit your table space.

Layer back, Insul-brite and top. Trim ends square and even. Back and top fabrics will probably shrink and shift some, and you want it to do this before you sew and bind.

Mark some lines to quilt, or stencil a design to quilt. You don’t have to quilt closely as Insul-brite is well bonded.

Secure the layers with quilters safety pins. Use a walking or even-feed foot on your sewing machine to quilt along lines you have marked. Or machine quilt freestyle.

Use a binding fabric that goes with both sides for a reversible “Hot Spot”. I chose sunflowers for late summer and fall, and poinsettias for Christmas for this one. The first one I made is Christmas on one side and Valentines on the other. I am planning Easter and summer flowers for the next one.
“Hot Spots” are machine washable and dryable.

Some scraps are too big to toss in a scrap bag, and they are too small to fit in with folded yardage without getting lost.
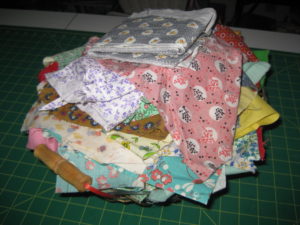

Folding the fabric to fit into a tissue box was more successful. Here is how we did it.
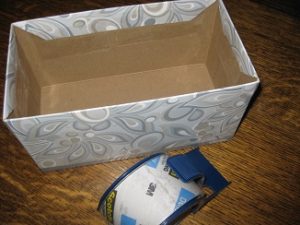

You will need a large tissue box, some wide packing tape and a 4″ wide gridded ruler. Cut the top of the box from the opening to the corners, fold the flaps down and tape inside the box.


Now you can easily stack on a shelf or store in a drawer, yet easily move the pieces to your work station.
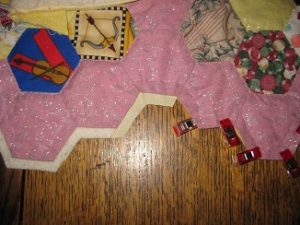
Knife Edge Finish is the method of finishing a hexagon edge when binding is not used.
First, press under the 1/4 inch seam allowance on hexagon edge before removing the foundation paper. Then after the quilting is completed, hand baste about 1/2 inch from pressed edge.
Second, working in about 2 foot sections, trim backing and batting 3/8 inch (a little more than 1/4 inch) from the pressed edge of the top. Then trim the batting very close to the pressed edge of the top.
Third, clip the backing to the batting edge at the inside “corners”. Tuck backing over batting under the pressed edge of the top. Pin or Wonder-clip in place. I use an applique stitch to secure edges. Wonder-clips are worth the investment for a project like this, as they keep your work flat and you can nudge them along as you stitch and keep the fabric secure.
How to Use the TR600 Coin Ruched Blossom Guide

Cut 7 3/4 to 8 inch circles of fabric for blossoms. Fold circle in half with the grain. Place TR600 Coin Ruched Blossom Guide on folded circle with etched dash line on the fold. Mark with your favorite marker. I use Mircon Pigma, Frixion or ceramic mechanical to mark the scallops and the dots.

Open circle and place etched dash line on the fabric fold line, lining up the center dot to mark the other half of the circle.

Thread a milliner needle with matching hand quilting thread and knot. Fold raw edge under so folded edge is at the point of any scallop. Sew a 1/4 inch running stitch around each scallop, turning the raw edge under as you go.

Sew around last scallop but do not knot or finish off.

Patterns will call for specific sizes. Measurement is taken across the gathering line. This one measures 3 inches.

Looks like a little pilgrim bonnet at this point.

Use basting glue or 4 quilters pins to position blossom. Then with milliner needle and hand quilting thread, stitch between each petal to applique in place.


Find the center dot and stitch in place, by coming up and back down in nearly the same spot, then repeat for all the other dots, in any order you come to them.

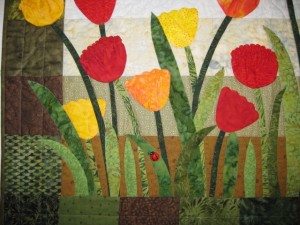
Or you can stretch them out with the petals all together to make tulips.

Need a quick gift for a new baby? These quick, perfect size burp cloths are easy to make and you get two from two fat-quarters.
Place two prewashed flannel fat-quarters right sides together and press smooth.
Cut two 10 inch by 17 inch double pieces from pressed piece.
Sew around each burp cloth set using a 3/8 inch seam allowance. Leave a 2 1/2 inch opening for turning. Turn each set right side out and press. Then top stitch 1/4 inch from outside edge to hold in place. You may also do some top stitching in the body of the burp cloth to keep the layers smooth.