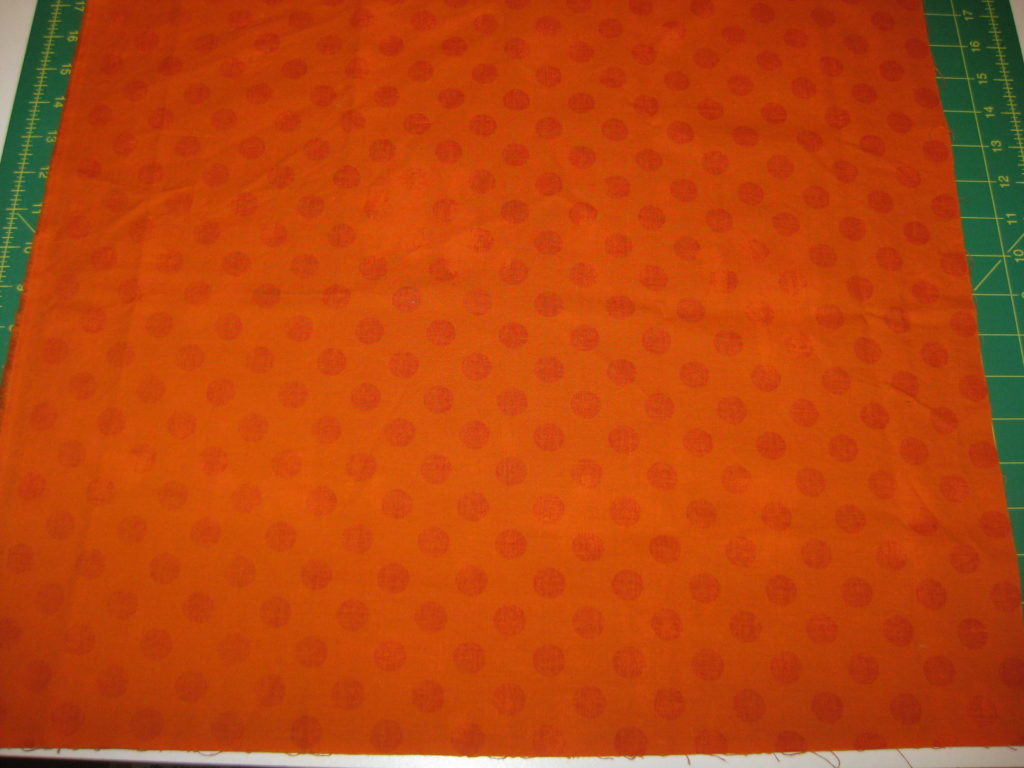
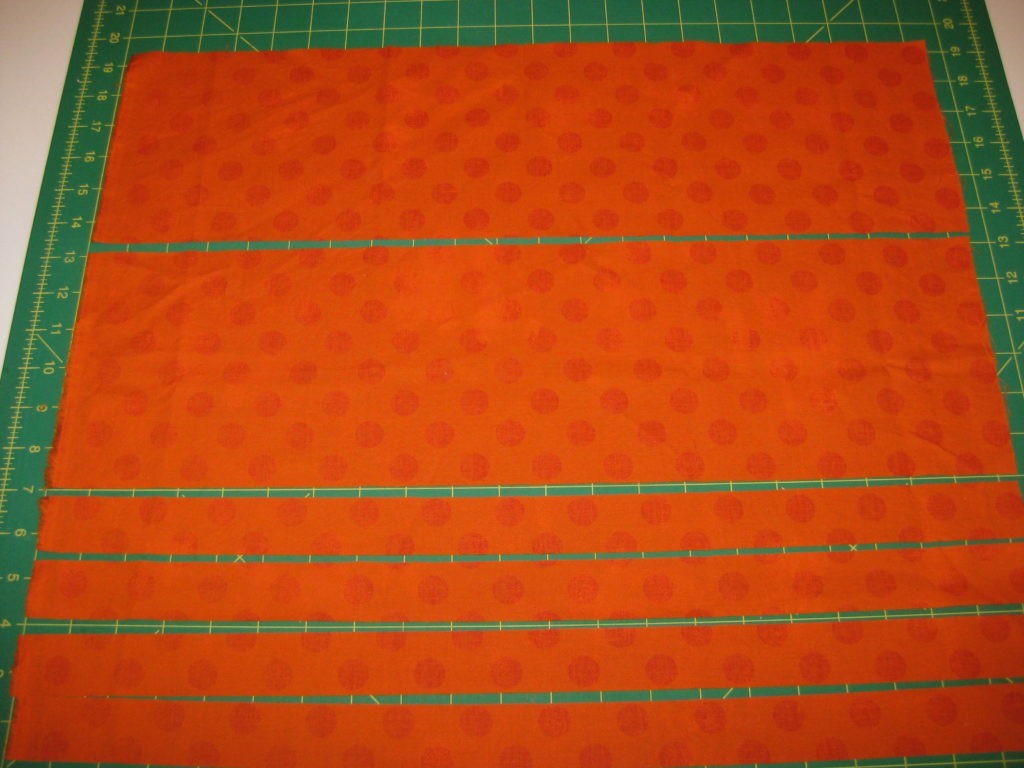
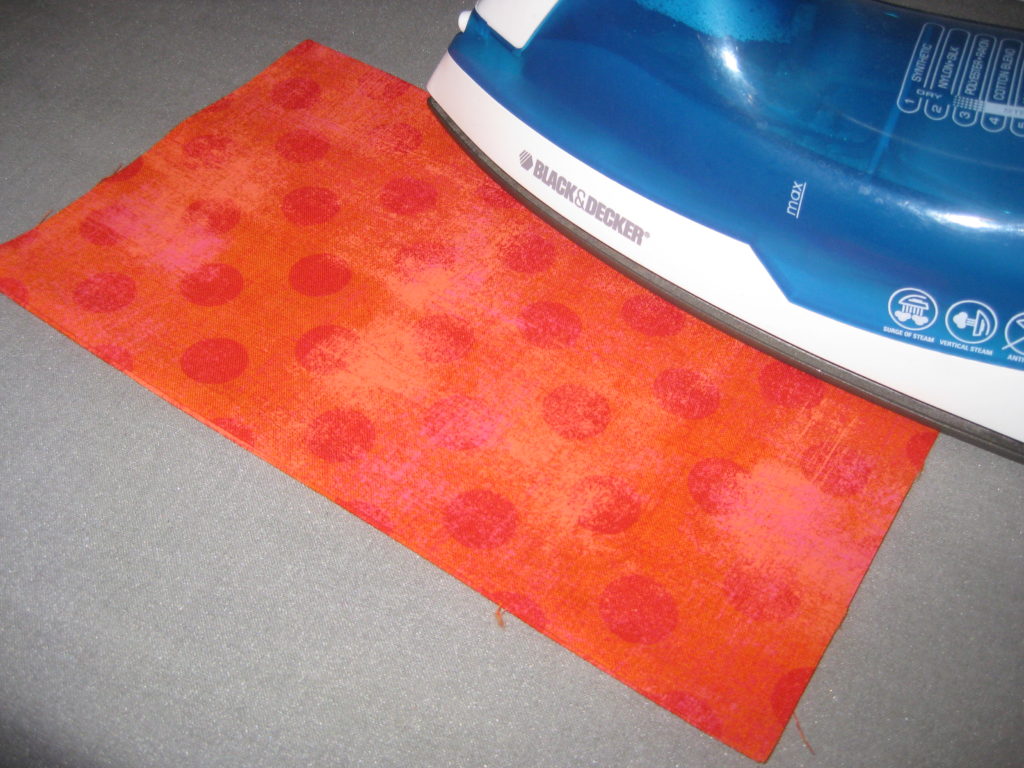
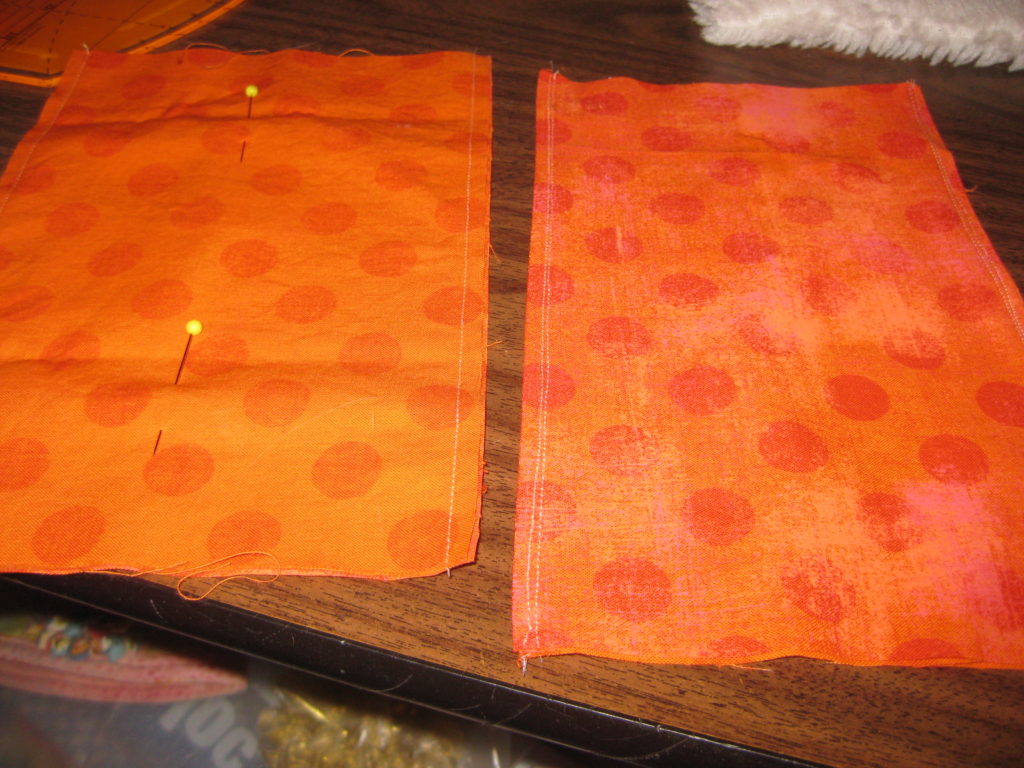
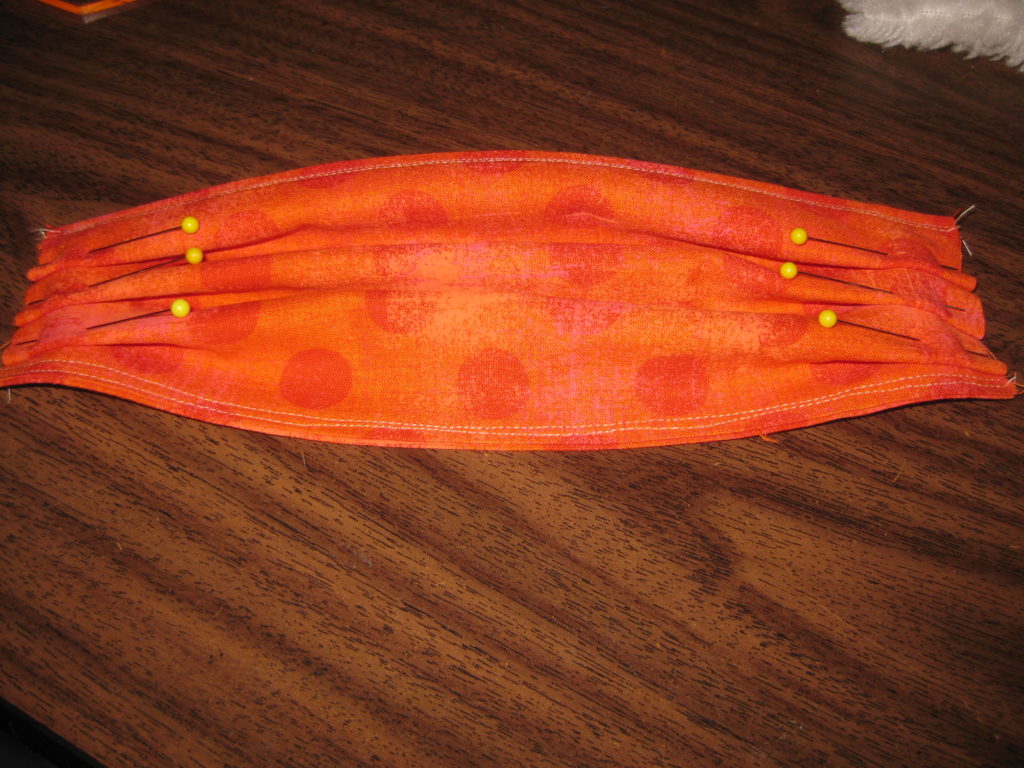
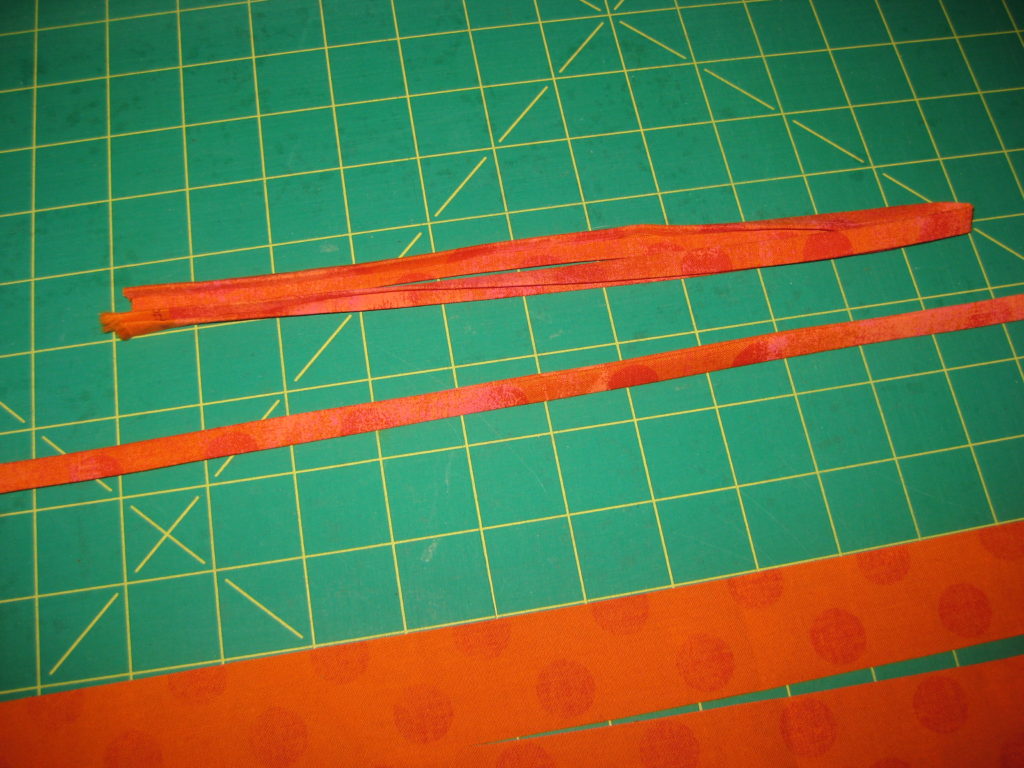
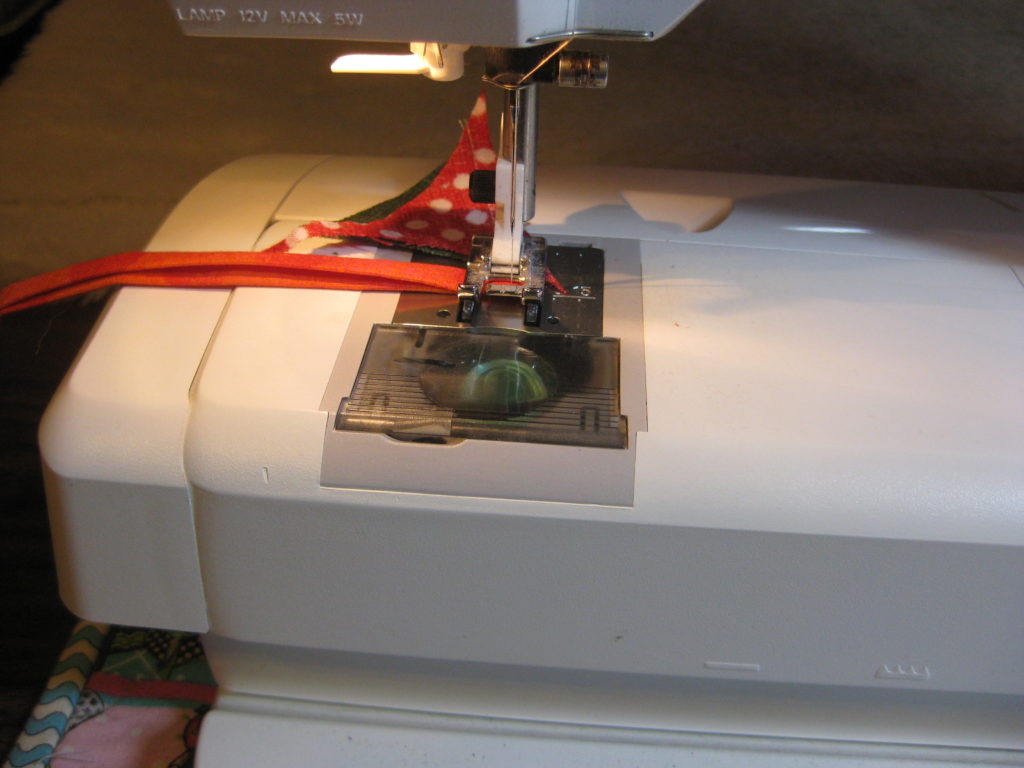
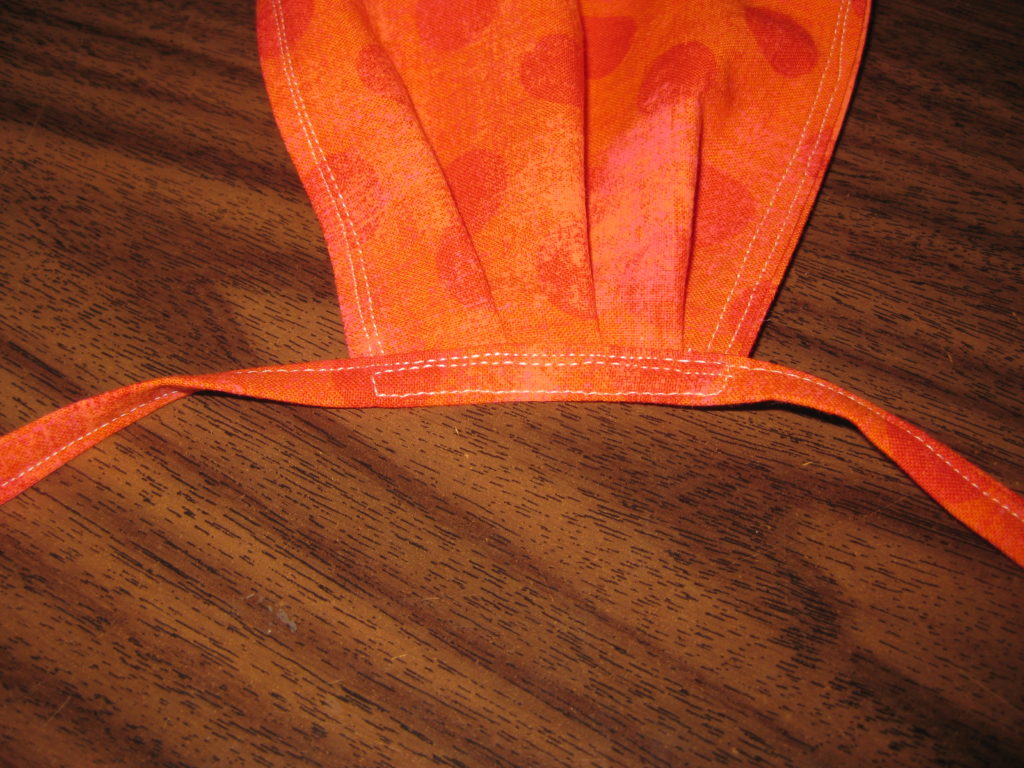
Emergency Tie On Face Mask You will need 1 Fat Quarter close-weave, all cotton fabric (18 x 22 inches) and a spool of sewing thread, scissors, and rotary cutting equipment is very helpfulFrom the Fat Quarter, cut 2 strips, 6 inches by 22 inches and 4 strips, 1 1/4 inches by 22 inches Or, if you happen to have some pre-made folded binding on hand, you can skip the strips and cut a third 6 x 22 inch strip.Then cut the two, 6 inch by 22 inch strips into four, 6 inch by 9 inch rectangles. Pin two together with right sides facing.Sew along each 9 inch edge use a 1/4 inch seam allowance.Turn the tube you have made right side out and press sewn edge even and smooth. I know…..where is that iron anyway?!? Seriously, pressing will make your life easier in this project.Top stitch along each 9 inch edge (example on right) Thread that matches camouflages sewing imperfections, but hey! This is an emergency so any color will do.Place Three Pinch Pleats and pin to hold.Do the same at both ends, making sure the pleats go the same way on both ends. We don’t want any smirky looking masks scaring patients.Now for the fussy part. Take the 1 1/4 x 22 inch strips to the ironing surface and press each in half lengthwise like the top example. Then fold in 1/4 inch on each side and press toward the center crease, bottom exampleNow, press the strip so raw edges are tucked inside and the piece is a little over 1/4 inch wide. Then fold it in half to mark the center of the strip, like the top example.We are getting there. Place the center fold at the center of a pleated edge and pin in place through all layers. then use two more pins to secure at the edges of the mask.Make life easier, don’t mess with trying to hem the end of the tie. This is not a wedding dress! Just stitch across the tiny end, turn and sew down the open side of the tie, close to the edge. Your machine may be finicky about this step, but go slow and talk sweetly to it, and it should cooperate.When you get up to the mask piece, take a moment to check and adjust pieces so all is going under the presser foot as you want. Sew as close to the mask piece as you can, then finish up by sewing the edge and end closed on the other part of the tie.To make sure the tie stays securely sewn to the mask, top stitch this “safety rectangle” as shown. We don’t want any masks flying apart in a healthcare professionals haste to “gown up” to attend to the ill.Repeat for the other side of the mask and there you have it.